
By
Shadows are formed by the object itself blocking the light. Always try and determine where the light is coming from in order to get the proper placement of highlights and shadows.
To understand why highlights and shadows are important, read my post on How to Paint Photorealsim.
Shading
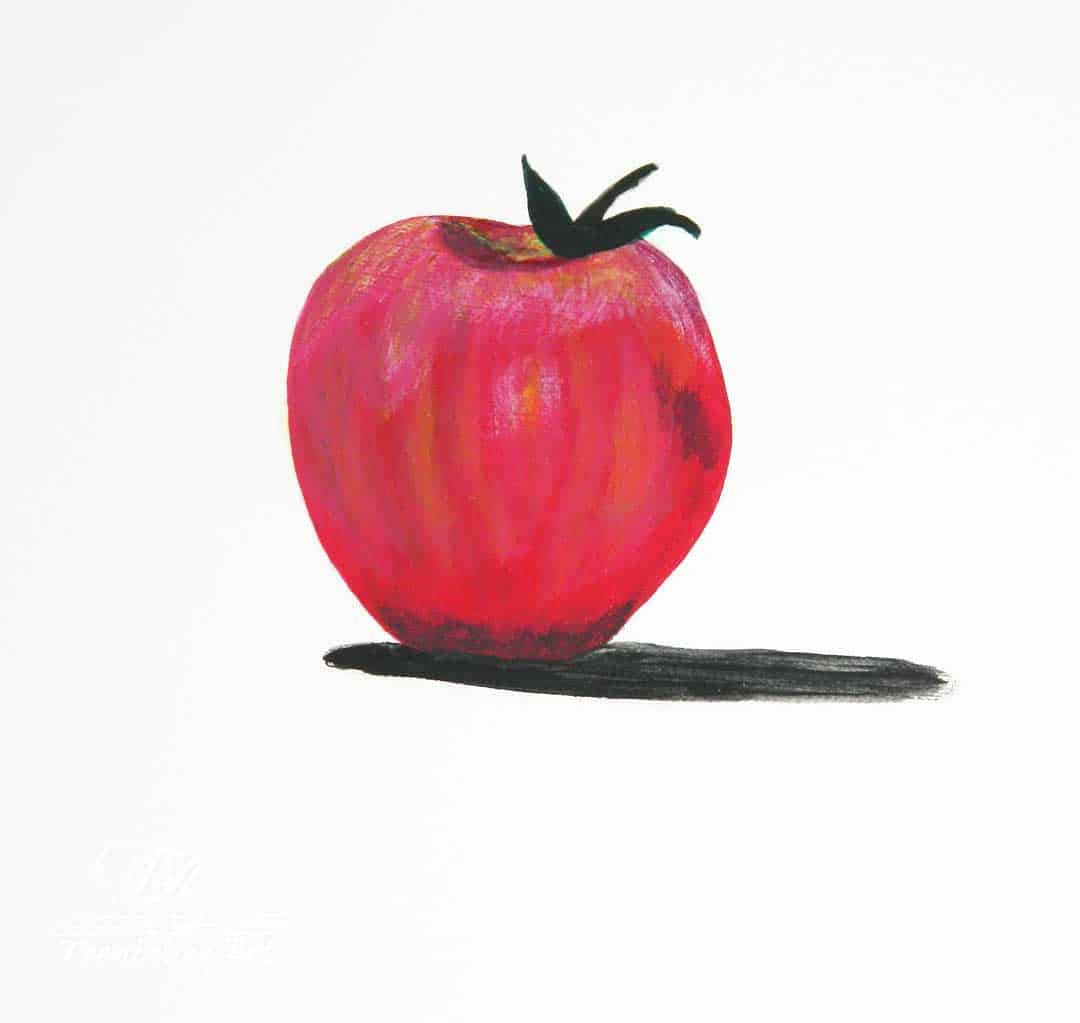
Most beginners use black for all of their shadows. In reality, shadows are rarely a true black. To find the right shadow color for your object add tiny amounts of black or the cool complementary color ( see my post on complementary colors) to the original color of your subject. So if you are painting a red apple, add a little black to the red or add a little of the complement to red, which is green. Add a little at a time until you get the color you want. You can deepen the shadow by adding a little more black or green.
You can also use a chromatic black for the shading. One recipe for chromatic black is a mix of ultramarine blue and an earth color such as burnt umber. More blue in the mix will give you a cool black. More burnt umber will give you a warm black. This mixture gives you a rich dark hue that has more depth than just a flat black out of the tube. You can also add a little white to this mixture to get various grays.

Types of Shadows
Form Shadow: The part of the object itself that is furthest away from the light is called the form shadow. It is the darkest part of the object.
Cast Shadow: A shadow that is created by the object blocking the light is called a cast shadow.
The shadow occurs on the surface the object is resting on or next to. The object “casts” a shadow onto the surface.

How to Paint Shadows
There are a few ways of painting a shadow. You can use your shadow color to paint directly onto your object or surface.
Blend out the edges to make sure you don’t have a harsh line. Use various mixes of your shadow color to gradually lighten your shading and blend it into the surrounding area.
You can also use a glaze to add shading. Mix your paint with glazing medium or water to thin it out so that it is almost transparent. Brush this dark glaze over the paint already on your subject to darken it. You may need several layers of glaze to achieve the effect you want. Shadows are not always dark. Snow and ice have very light shadows. The shading in very light subjects is more dependent on contrast than darkness.
When I look at the snow in my back yard (we have almost 3 meters or 10 feet!), I see various shades of white and blue (blue reflection from the sky) and only tiny areas of a true dark color. I find the easiest way to paint snow or other very light or white objects is to first do a ground or base color. For snow I usually use a blue grey, then paint the white/blue snow on top, letting some of the ground show through which forms the shading in the snow.
This is one of the reasons it is important to study your scene or reference photo before planning out your painting. Look at the underlying tints of color and see where the light is hitting and where it is blocked. Art is as much observation as it is creation.
Highlighting
It is tempting to add pure white paint where the light source hits your subject. However, as with shadows, highlights are rarely pure white. They contain hints of the colors around them. Pure white should be saved for the brightest highlights such as a sparkle in the eye or the light in a dew drop. Pure white should be used sparingly.
Highlights are not as complicated as shadows, but they are the “icing on the cake” so to speak. Highlights can make your painting or drawing “pop” and draw the viewers eye. They also give more life to a piece. Since without light we cannot see, even the darkest paintings have some highlights.
Where To Put Highlights
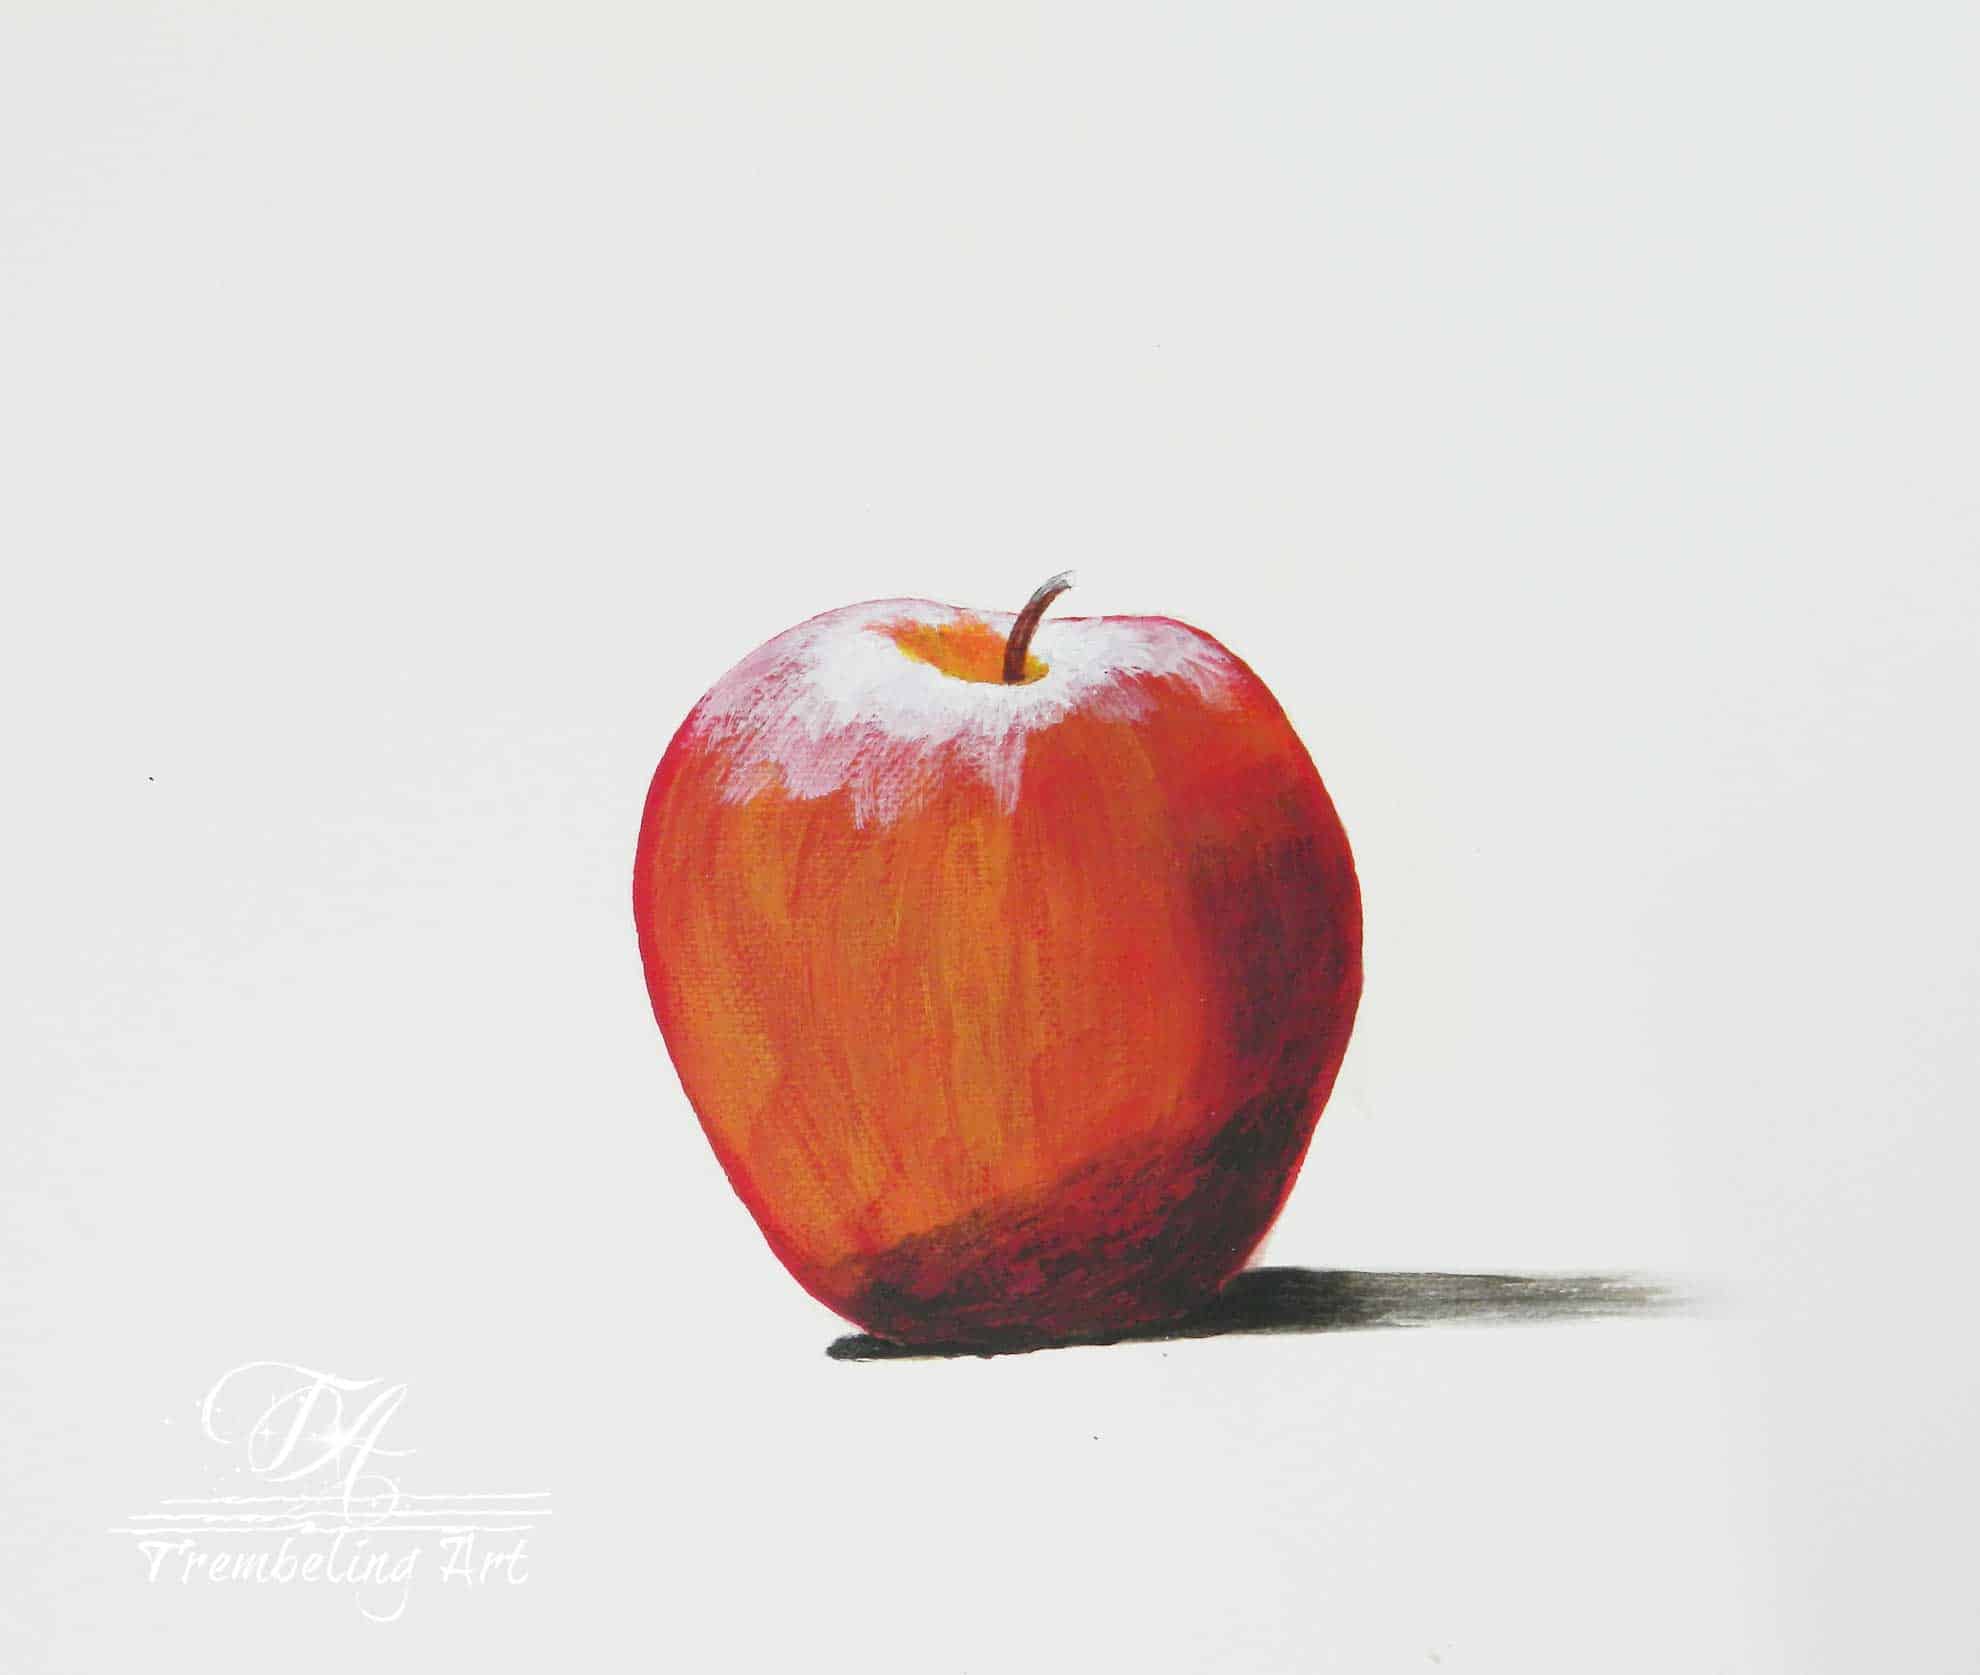
Highlights are usually found at the highest point of an object where it is closest to the light source. Highlights are painted by adding various amounts of white to the color of your object. To highlight a red apple, add a little white to your red. If you are not careful, you can end up with a bright pink. If you are having trouble with this, try using zinc white or transparent mixing white. This is a transparent white that will not give you the milky color you usually get from pure white.
You can also use the warm complement to your base color, so for red you would use a warm green. You really need to experiment a little with mixing these colors since they can also be influenced by the colors around them.
Use a soft brush with a light touch for highlights. They should be subtle and the edges well blended into the surrounding color.
Gradually build up the highlight rather than having a blob of light colored paint. Observe where the light hits your subject. There will be bright highlights and areas of more subtle lightening.
Experiment With Highlights and Shadows
Try this exercise to help you better understand how highlights and shadows are formed. Place an apple or any simple object on a table in a dark room. Use lamps or a flashlight to shine light on the object from various angles. Move the light around and observe where the shadows fall on the table and on the object itself.
Pay attention to where the light hits the object, where it is brightest and where it is more diffused.
Tips To Remember
- Shadows are darkest closer to the object.
- Highlights and shadows should be blended and never form a harsh line.
- Shadows have darker and lighter tones, never a flat black.
- Everything has a shadow.
- Start lightly with shadows and build up with more layers.
- Pay attention to the light source.
- Shadows are not always dark. Sometimes they are more subtle such as the shadows on snow.
- Squinting at a shadow will help you see the lights and darks.
- Color is not the most important element in a painting. It is more important to get the values right – lights and darks. See my post on Value.
- Take a picture of your subject and convert it to black and white to get a better idea of the lights and darks.
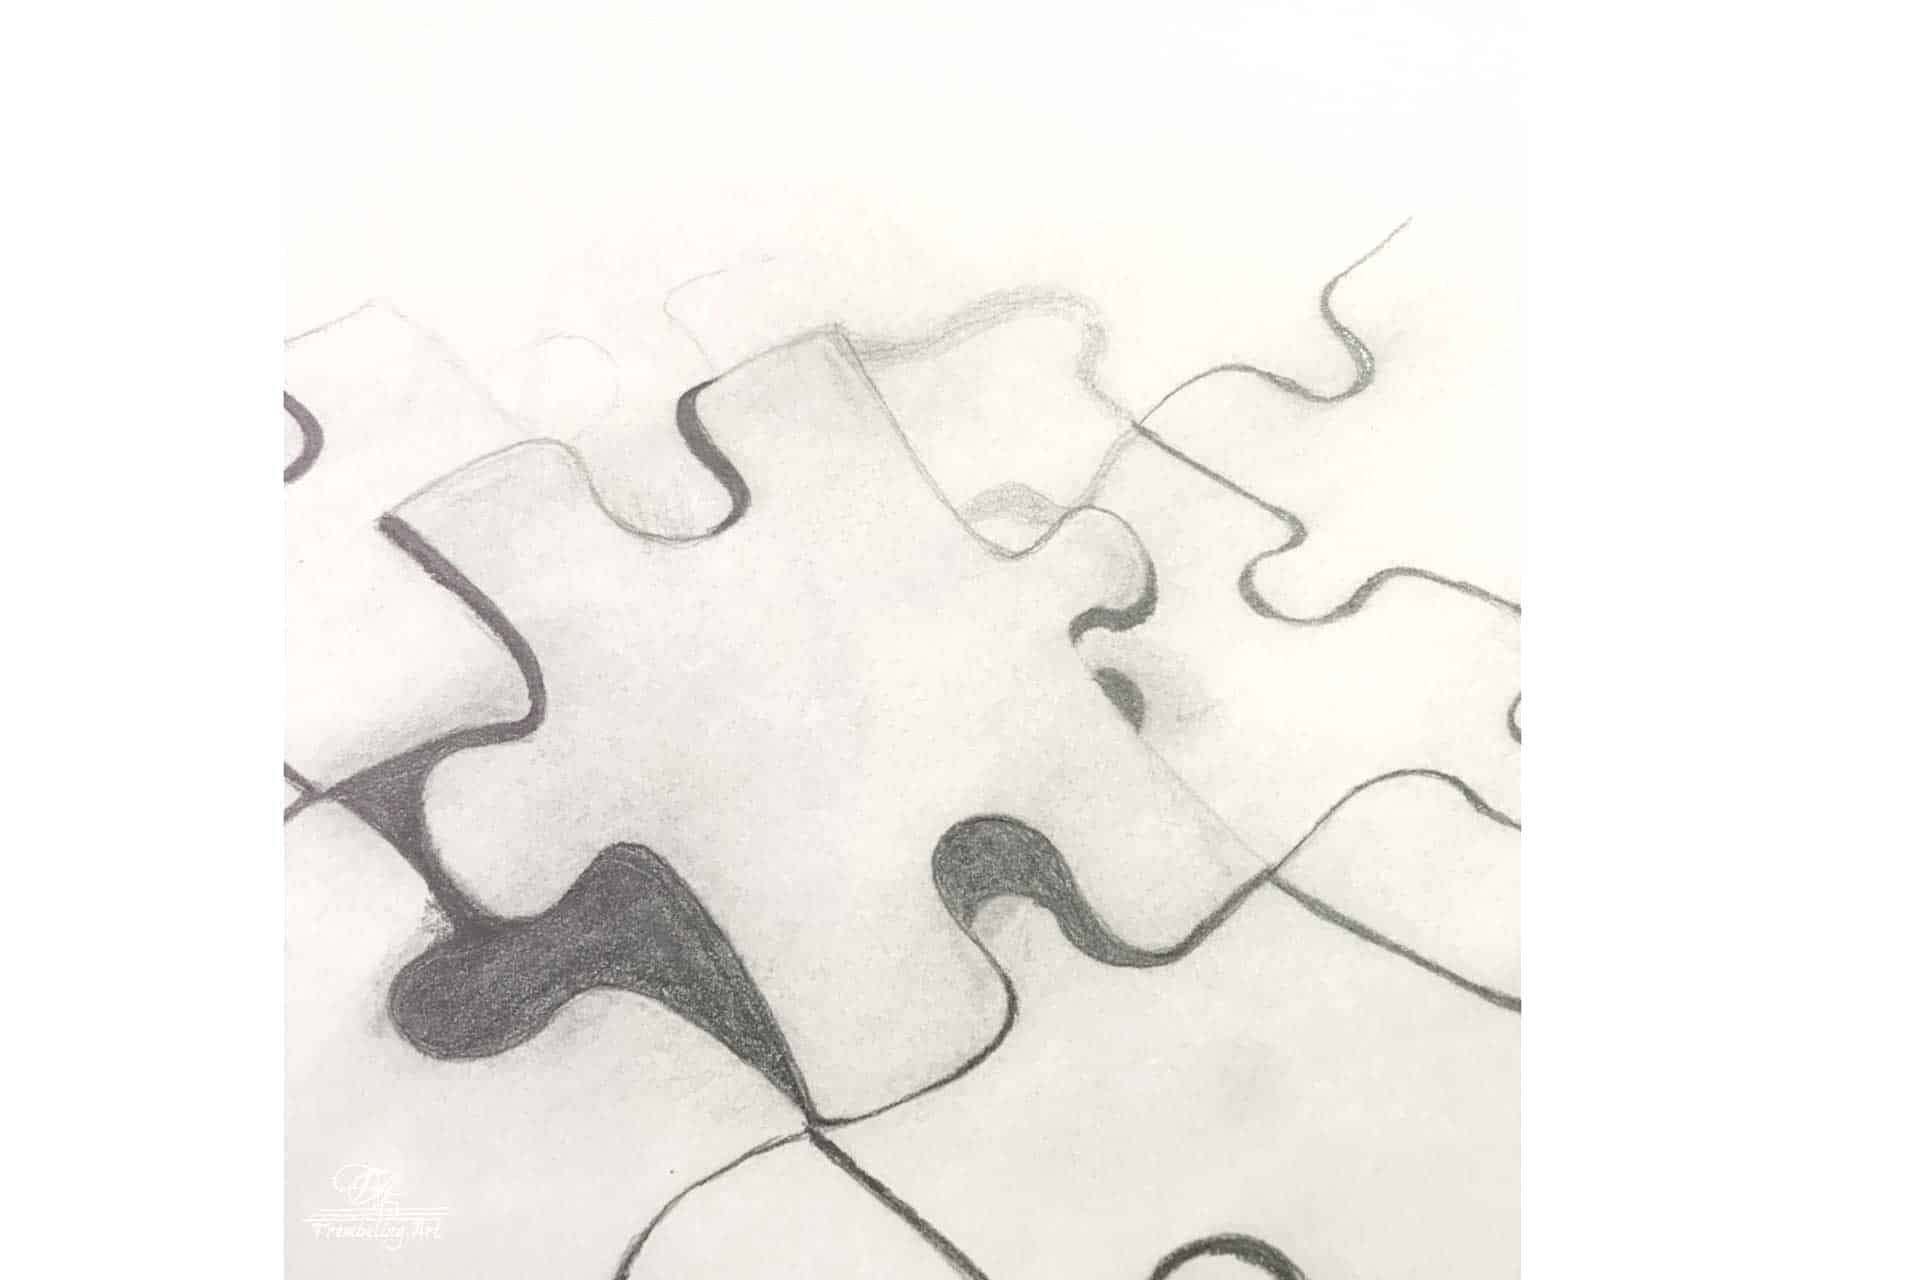
- Sketch your subject in graphite first to get an idea of where you want your shadows and highlights
- Practice often. The more you paint, the better you will get. Don’t get frustrated. Every brush stroke you make gets you closer to where you want to be.

I hope these tips help you to understand the basics of highlighting and shading. Take some time to practice on simple subjects. Develop your own color preference and style for your highlighting and shading and most importantly, enjoy the process.
No comments:
Post a Comment